After the first installation and initial use, it is necessary to properly configure the plugin to ensure full functionality.
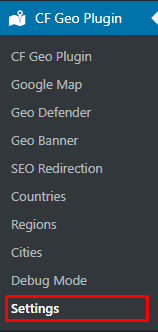
To configure the plugin, log in to your wp-admin panel as an administrator and navigate to Geo Controller → Settings from the left sidebar menu.
The settings page contains multiple tabs, but the following three are the most important:
- Global Settings
- Google Map Settings
- License
Global Settings
This section is critical for enabling or disabling the core features of the Geo Controller plugin.
Within Global Settings, you can manage:
- Country flag display
- Google Map integration
- Geo Banner and Geo Defender features
- Auto-update preferences
- SSL configuration
- Cloudflare integration
- Proxy detection and filtering
Each of these options ensures that your geo-targeting setup operates smoothly and accurately.

- Enable Cloudflare
- Enable SSL
- Fix Cache
- Menu in Admin Bar
- Currency in Admin Bar
- Enable DNS Lookup
- Base currency
- Enable Navigation Menus
- Enable Geo Banner
- Enable Google Map
- Enable CSS property
- Enable JavaScript property
- Enable REST API
- Enable Site Redirection
- Redirection mode
- Enable CSV Import/Export in Site Redirection
- Enable SEO Redirection in Post Types
- Disable Redirection for the Bots
- Hide HTTP Referrer Headers Data
- Enable Spam Protection
- TOR network control
- Enable Automatic IP Address Blacklist Check
- Geo Tag
- Set HTTP API Timeout in Seconds
- Enable BETA Testing & Advanced Features
- Proxy Settings